Showing posts with label No. 1-A Folding Pocket Kodak Special. Show all posts

Friday, January 19, 2024

Piedras Marcadas

Albuquerque had a fine sunny Wednesday, so I decided to take a hike through the Piedras Marcadas section of the Petroglyph National Monument.  Access to much of the site is limited by rope barriers, so photography is best undertaken with the help of a telephoto lens.  With my camera of the day, a No.1-A Folding Pocket Kodak Special, I had to limit most of my photo making to panels close to the trail.


The film was Fomapan 100, processed in HC-110b.  In the camera, FPP 120 to 116 spool adapters were used to hold the roll film firmly in place.  Eight rotations of the winder takes the film to the first frame.  Two-and-one-half rotations separates succeeding frames.

I also made quite a few shots of the rock art with my little digital Canon A1000 IS and I'll post some of those on my other blog.

Thursday, September 23, 2021

Exploring the Bosque

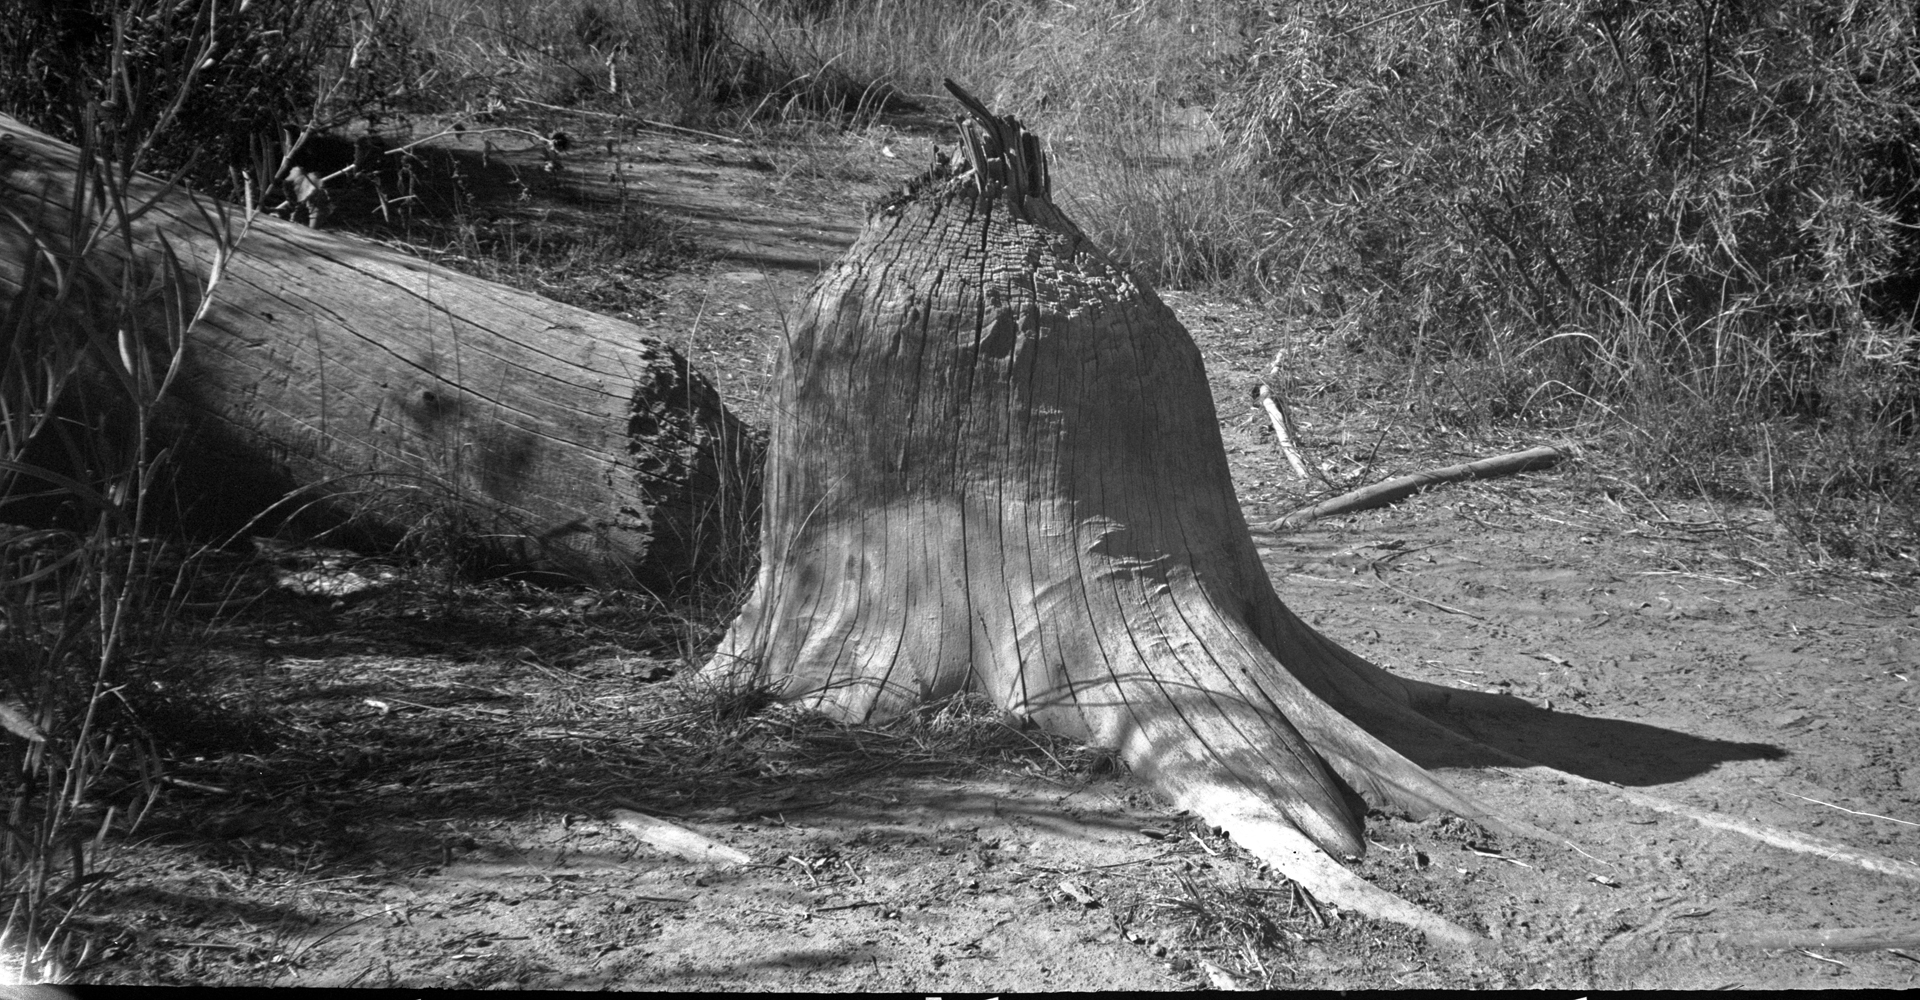
 I took a long walk with my 1A Pocket Special in the riverside forest at the east end of the Paseo del Norte bridge.  I saw some bike riders and skaters on the paved path that parallels the river, but no other people after that.  


I got six-and-one-half frames from this roll of Tri-X using some expired 120 Tri-X.  I think the century-plus camera has performed very well, but it is starting to show its age; there are some small light leaks appearing on the negatives and the ancient leather covering is disintegrating.  I think I will give the camera a well-deserved rest and move on to using a couple of my other, newer 116 Kodaks along with the very helpful 116 to 120 adapters.

Tuesday, September 21, 2021

Fomapan 400 Revisited

 I wasn't happy with some images on Fomapan 400 shot recently with my 1A Pocket Special and put them aside.  I started playing around with them again in Photoshop this evening and discovered that some rather radical adjustments to contrast, highlights and shadows revealed that there was quite a lot of useful detail available in the negatives.


The adjustments to the images got me a lot closer to what I want from my black and white medium format pictures in regard to sharpness and tonal range.  I'm thinking now that I need to take a close look at my Silverfast settings when I do the initial scans of the Fomapan 400 negatives.


The 116 to 120 adapters from the Film Photography Project look like they are going to make using 120 film in the 1A Pocket Special a lot more practical.  I also spent some time today in getting a better handle on advancing the film blindly since the red window is not of any use.  It seems that if I am careful in the advance process I could get as many as seven frames from a roll of 120.

Saturday, September 11, 2021

116 to 120

 I tagged along with a fellow New Mexico Film Photographer on a visit to the Old San Ysidro Church and Cemetery in the community of Corrales.  


We managed to get to the place shortly after sunrise and found some very nice light.  I was pleased to get seven frames from a roll of 120 in my 116-format Kodak No.1A Folding Pocket Special.  Unfortunately, the film rolled crookedly onto the take-up spool, so all the shots were a bit cockeyed.  I had taped the film backing to the take-up spool to try to avoid that, but to no avail.

When I first began using this camera I had put some foam padding on the end caps to keep the 120 ilm from getting off track.  That reel got lost along the way, and I don't have any suitable material on hand to duplicate that arrangement.  I decided I would try some 116 to 120 3D-printed adapters which would let me use actual 120 film spools on both ends.  I ordered the adapters from the Film Photography Project at a cost of $20, and I should have them in about a week.  

Wednesday, August 11, 2021

Restorations

Here are a couple more shots from my Friday morning session in Old Town with the Kodak No.1A Folding Special.  The images were cropped to compensate for poor framing, but I like them because they show the nice qualities which the Bausch and Lomb Rapid Rectilinear lens can deliver.  I was also happy with the tonal range produced by the combination of the expired Tri-X and processing in HC110e.


The Rapid Rectiliner lens, also known as the Aplanat, dates back to 1866.  As can be seen in this illustration from Wikipedia the design features four elements in two groups arranged symmetrically on either side of the aperture.


Here are comments on the design by Rudolf Kingslake, a Director of Optical Design at Eastman Kodak Company from his book, Lenses in Photography, 1951 (p.122-123):

The Rapid Rectilinear Lens -- By 1866 lens theory had developed sufficiently to indicate how the two components of a duplet could be corrected for spherical aberration even though they were bent into the meniscus shape necessary for a flat field, the symmetry being relied upon to eliminate coma, distortion, and lateral color.  The result was the f/8 Rapid Rectilinear...

The aperture scale on my 1A Special shows a value of "4" as the widest aperture setting, however that is because the scale is using the Universal System values in use by Kodak at the time.  In that system the mid-scale value of 16 is the same as the f/16 value in the system now in use.  The next lowest value in the Universal System is expressed as 8 to indicate twice the exposure value of the previous setting.  And, the last Universal System value on my camera is 4, but that actually corresponds to f/8 in the current system of aperture values which are expressed as a ratio of focal length to aperture diameter.

Saturday, August 07, 2021

From the Kodak 1A Folding Pocket Special

 A newcomer to the Friday morning car klatch in Old Town stirred some interest.

I think this car started out as a '36 Plymouth, but it has been extensively modified.

These shots are from my No.1A Folding Kodak Special with a four-elements-in-two-groups Rapid Rectilinear lens.  The outer covering of my camera is quite deteriorated, but the shutter works fine and there are no pinholes in the red bellows.

The camera was built to use 116 film which yielded 12 shots that measured 2.5 x 4.25 inches.  While the camera seems big and awkward by today's standards, Kodak ads touted it as an exceedingly compact instrument.  In fact, the 1A and the even bigger 3A cameras were what was used by the early photojournalists like Jack London and Jimmy Hare.

Turn-of-the-century cameras are interesting because camera control features tended to vary a lot from one manufacturer to the next.  The shutter on this camera, for instance, includes a frame counter that was actuated by the shutter release, which was best operated with a pneumatic bulb.  The aperture settings are designated by the U.S. standard of the time rather than the current f-stop ratio values.

The focusing scale has settings only for 6, 10, 25 and 100 feet.  Turning the thumb wheel brings a pin into position which serves as a stop when the lens/shutter mount is pulled forward.  Because of the short length of the scale, distances between the indicated stops cannot be easily determined and set, so bright shooting light and small apertures are helpful to achieving proper depth of field. 

One very nice feature of the 1A Special was a reflex finder that was very large and bright compared to those of later Kodak folders.  Mine is especially easy to use thanks to the replacement of the original deteriorated mirror by a mirror sliced from an old Polaroid camera.


I have only shot 120 roll film in my 116 cameras and that requires a bit of ingenuity in loading and advancing the film.  The big 116 spools are held in place by spring-loaded pins.  To use the camera with 120 film spools I made a film holder from an Adox plastic film can and foam spacers.  When operating the camera, the ruby window is covered and the film is advanced by two-and-one-half turns of the advance key to achieve adequate spacing, yielding five or six frames per roll.  It is also possible these days to acquire 3D-printed spacers to properly hold the 120 film spools in position.

Saturday, January 16, 2010

borders and sprockets

I went to some trouble, as I described in my last post, to eliminate the sprocket holes from my Fed-1g images. On other occasions I have done just the opposite, incorporating into my images the film negative borders with their lettering and numerals or the sprocket holes from 35mm film. I think the first time I used this style was in an image made with my No.2 Folding Autographic Brownie. I decided I wanted a very large print to hang over my desk, so I took a scan of the image to a fellow in the Las Cruces downtown mall who had an Epson printer about two yards wide. As he was preparing the image for printing, I saw him start to crop out the film borders. I hastened to tell him I wanted the borders left in the print. He gave me a quizzical look, and I muttered something about the framing effect. So he proceeded as directed with only a slight curl of the lip.
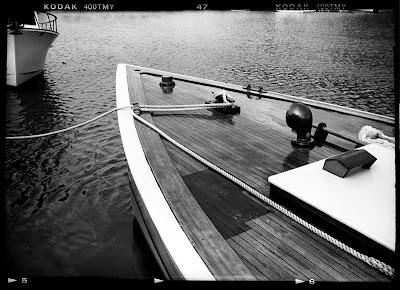

Kodak No.2 Folding Autographic Brownie

It is not immediately apparent to everyone why including the film borders and sprocket holes into an image is a good idea. I think the creation of a natural framing device is part of the appeal. The border inclusion also calls attention to the photographic process and further differentiates the image from those created by other means such as painting or drawing.
    In the case of my No.1A Autographic, the negative frame borders also document the panoramic format which results from using 120 film in an old 116-format camera.
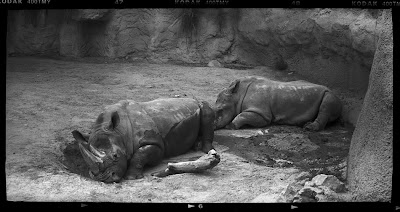

Kodak No.1A Folding Pocket Special

I think another aspect of appeal in the use of negative frame borders resides in a declaration of authenticity. One sees that the entire image recorded by the film is displayed with no cropping. I'm usually perfectly willing to crop for compositional value, but it is nice to have an example or two from an old camera which clearly show the unaltered proportions of the images.
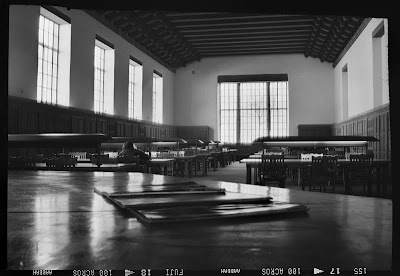

Ansco Folding Buster Brown

Negative frame borders are sometimes useful in identifying the type of camera that has made the image. For instance, the film holders for large-format cameras leave a very distinctive impression on the film. The upside-down lettering at the bottom of the images from both the Buster Brown and the Clack result from the fact that the advancing film travels from right to left.
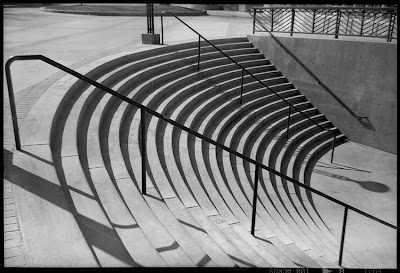

Agfa Clack

The Certo Dolly is a particularly versatile shooter, offering two formats, 6x6 and 6x4.5, and one can further emphasize the proportional possibilities with inclusion of the frame borders in the images.
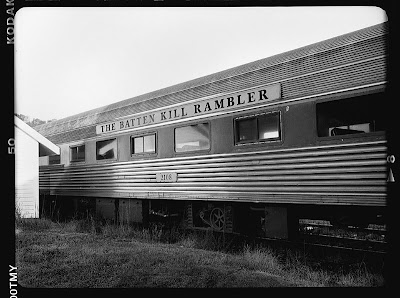

Certo Dolly Supersport, 6x4.5 mask

Although the Dolly is built to use 120 film, it is also easily possible to use 35mm film in the camera. The 35mm cartridge fits with no problem into the feed compartment. One needs to be careful to keep the ruby windows well covered with black tape, and it is necessary to advance the film blindly with a couple of turns each time to keep the frames separated. What you get with this technique is an image that extends out over the sprocket holes. In addition to the graphic interest this produces, I think it is also a useful way to help create a link between pictures in a series. An example of this can be seen in a roll from the Dolly shot along Route 66 in Albuquerque.
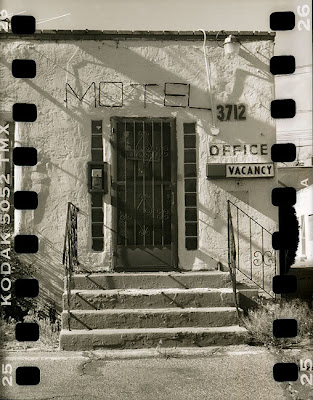

Certo Dolly Supersport, 35mm film

Sunday, November 01, 2009

vintage aircraft with a vintage camera

The B-52 and the B-29 at The National Museum of Nuclear Science & History in Albuquerque.


I've photographed these old planes many times; this is the first time with my centenarian Kodak, the 1-A Special with the Rapid Rectilinear lens. It is always fun to get nice images from very old cameras, but on this occasion the camera also represented a practical choice given the subject. The long lens provides a nice perspective, and the semi-panoramic format is well suited to these big bombers. The exposures were 1/50 sec. at f45 on Fuji Neopan 400.

Sunday, October 18, 2009

Truck Stop


These images from a local truck stop were made with my No. 1-A Folding Pocket Kodak Special, which is about 100 years old. Like my No.2 Brownie, the 1-A has the Rapid Rectilinear lens which is very sharp provided that it is stopped down to f16 or smaller. All the the photos above were shot at f32 and 1/100 sec.


The 1-A Kodak was originally designed to use the now-defunct 116 film format. I have modified the camera slightly to permit the use of standard 120 rollfilm, so the negatives are 2.25 inches by 4.25 inches.  The camera is working very well at present, with no light leaks. The brilliant finder provides a nice view of the subject, and the ball bearing shutter seems accurate. I don't have the original bulb-type shutter release, so my next step with this camera will be to devise some kind of adaptation to permit the use of a standard cable release.

Sunday, August 02, 2009

Using 120 rollfilm in a 116 folder


I put another roll of film through my No. 1-A Folding Pocket Kodak Special after making some modifications to make it easier to use 120 rollfilm.


The easiest part of the conversion is the modification of the 116 take-up spool. I made a couple washers from the rubber backing material off a mouse pad, cut them in half and glued them to the inside faces of the spool end disks. The 1/8-inch thickness is just right to shield the edges of the 120 film against the light.

For the supply-side, I made a film holder from a plastic Adox film can. A hole in the bottom and another in the rubber disk holds everything in place securely, and the film comes out through the slit down the side. Besides being simple to implement, this solution didn't require any irreversible modification to the camera.

The film rails need to be just an eighth-inch wider on each side to properly mask and support the 120 width film. I used some black mounting board. The first strip was made a bit wider so it would slide under the existing frame rails and help support the new ones. On top of that, I glued two more 1/8-inch-wide strips, and these were also glued on the outer sides to the metal frame using hide glue. The mounting board is tough stuff to cut, but using my mat cutter enabled me to make the strips thin and straight.

One solution to frame spacing is to relocate the red window to the center of the camera back, enabling the use of the center row of numerals on the 120 backing paper; using every other number yields six non-overlapping frames per roll.

I was reluctant to drill a hole in my nice old Kodak folder to get the proper frame spacing. However, I found that the existing red window in the lower right corner of the back let me make use of the 6x4.5 framing numerals to get five evenly spaced frames using every third number, starting with number 3.

I'm not sure that I made any real improvement in image quality through the conversion, but the camera is quite a bit easier to use. One problem that cropped up was that the film edge is closer to the red window, and I am presently getting quite a bit of light leakage onto that side. I'll try painting out half of the window, and I'll also see if some well-placed foam light seal helps.


So, still a bit of work to be done, but I only have an hour or two into the project, and it turned out to be quite a bit easier than I had anticipated.