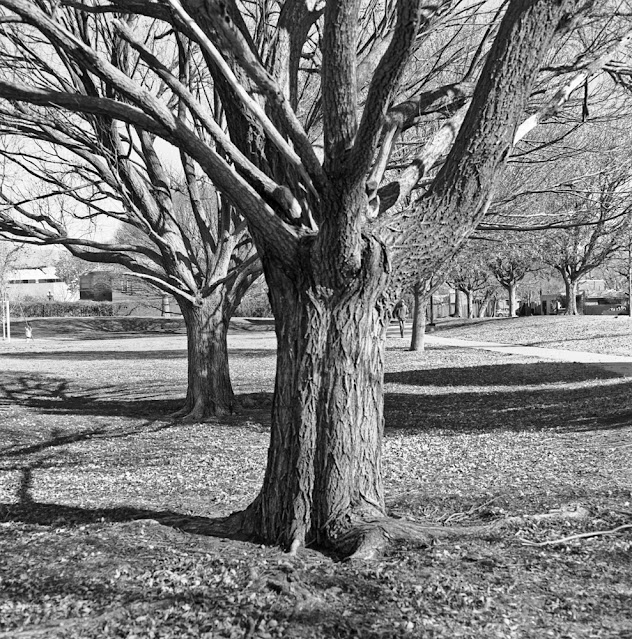
I spent some time recently going through the 900+ photos I have posted on the Flickr photo sharing site over the past sixteen years. One thing I decided after that review was that the pictures of mine that I think are most unique and among the most valued by me are those made with my pinhole cameras. I like the fundamental simplicity of the pinhole process. The fact that I can make a pinhole camera as good as anything I might buy is also very appealing. While such a camera can be made from little more than a cardboard box and piece of beer can aluminum, I have made all of mine from modified film cameras. That strategy has several problem-solving advantages including taking care of issues like film holding, frame spacing and shutter operation.

Most of my pinhole pictures have been made with a hacked medium format Agfa folder. I removed the bellows and associated hardware from the camera, hacksawed a hole on the camera's front cover and mounted the shutter there, replacing the lens with a pinhole. The distance from the pinhole to the film plane on the camera is about 38mm which gives me a wide-angle look I like for my pinhole images, and the relatively large negatives allow considerable enlargement.

I have also made several pinhole cameras from simple little plastic point-and-shoot thrift store finds. My first color pinhole images came from a Vivitar PN2011. That camera was easily modified for pinhole use, but the shutter was a little awkward in use. I got better results from a no-name-made-in-China 35mm camera that has a paddle-type lens cover that is operated by the shutter release. I poked a pinhole for it in a disk of thin sheet brass which I found at an art supply shop and the images it makes are quite nice, though they are not as enlargeable as those from the Agfa.
So, the upshot of all this rumination about squeezing light through tiny holes was that I was impelled to load a roll of Fomapan into the Agfa and take a walk through the neighborhood and another beside the river to make some pinhole images. What I discovered on developing the film was that the exposures were fine, but I had forgotten the first rule of pinhole photography -- you need to get close as you can to the subject -- and then get closer. Still, I got a couple pictures that were ok, and I'm looking forward to doing more.
 |
| my house, pinholed |
 |
| a bridge to the bosque at Tingley Ponds |
My pinhole outings were facilitated by fine sunny days, which is a good fit with Fomapan. On such days a full sun scene needs just a second or two of exposure. With an overcast sky or in the shade, however, the need for some patience and a sturdy tripod come into play as Fomapan's light sensitivity nosedives. Under those lighting conditions a meter reading indicating a need for an eight second exposure requires a small compensation of a couple extra seconds with something like TMAX. With Fomapan in the same low light you may need to give your pinhole a full minute of exposure for a usable image on the film.
Luckily, for impatient penny-pinching pinholers like me, there is an imminent answer to Fomapan's reciprocity failure problem. Ilford has announced that is now making Kentmere 100 and 400 in 120 format and it should be available very soon at B&H and elsewhere. Both speeds of Kentmere will be priced at $5.80, which makes it the cheapest medium format film on the market. So, that will introduce some healthy competition into the currently crazy film scene, and Ilford's film has a reciprocity failure profile that is an order of magnitude better than Fomapan. That same low light scene that calls for a minute exposure with Fomapan will only need about fifteen seconds with Kentmere in the camera.
-------------
UPDATE Dec. 6, 2022
The Film Photography Project has Kentmere 120 listed on hand and priced at $4.99. No free shipping like B&H, but I went ahead and ordered five rolls of 100 speed with $10 for shipping.


