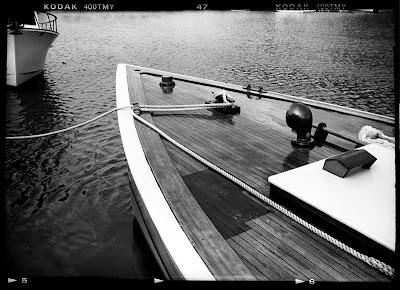
Kodak No.2 Folding Autographic Brownie
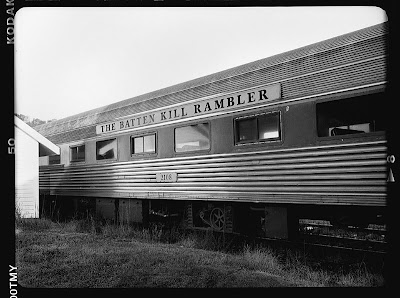
It is not immediately apparent to everyone why including the film borders and sprocket holes into an image is a good idea. I think the creation of a natural framing device is part of the appeal. The border inclusion also calls attention to the photographic process and further differentiates the image from those created by other means such as painting or drawing.
In the case of my No.1A Autographic, the negative frame borders also document the panoramic format which results from using 120 film in an old 116-format camera.
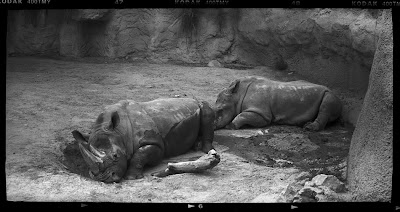
Kodak No.1A Folding Pocket Special
I think another aspect of appeal in the use of negative frame borders resides in a declaration of authenticity. One sees that the entire image recorded by the film is displayed with no cropping. I'm usually perfectly willing to crop for compositional value, but it is nice to have an example or two from an old camera which clearly show the unaltered proportions of the images.
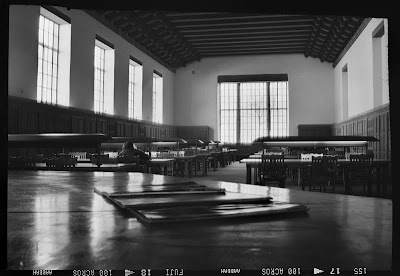
Ansco Folding Buster Brown
Negative frame borders are sometimes useful in identifying the type of camera that has made the image. For instance, the film holders for large-format cameras leave a very distinctive impression on the film. The upside-down lettering at the bottom of the images from both the Buster Brown and the Clack result from the fact that the advancing film travels from right to left.
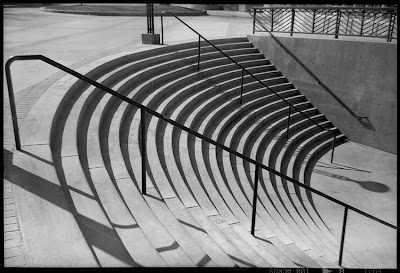
Agfa Clack
The Certo Dolly is a particularly versatile shooter, offering two formats, 6x6 and 6x4.5, and one can further emphasize the proportional possibilities with inclusion of the frame borders in the images.
Certo Dolly Supersport, 6x4.5 mask
Although the Dolly is built to use 120 film, it is also easily possible to use 35mm film in the camera. The 35mm cartridge fits with no problem into the feed compartment. One needs to be careful to keep the ruby windows well covered with black tape, and it is necessary to advance the film blindly with a couple of turns each time to keep the frames separated. What you get with this technique is an image that extends out over the sprocket holes. In addition to the graphic interest this produces, I think it is also a useful way to help create a link between pictures in a series. An example of this can be seen in a roll from the Dolly shot along Route 66 in Albuquerque.
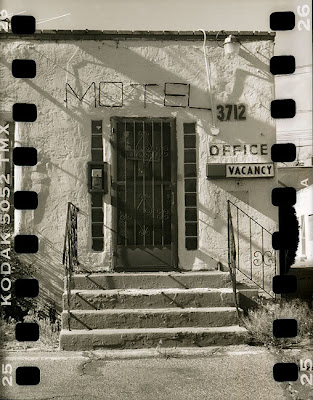
Certo Dolly Supersport, 35mm film
4 comments:
Very interesting topic, Mike. I enjoyed your posts very much. I like to occasionally include the borders on my prints too but unfortunately my film scanner mask usually crop them out.
I use an ancient Epson 2450 flatbed scanner. It is abysmally slow, but pretty versatile in regard to formats. It came with film holders for slides, 35mm strips and medium format. The medium format holder has a slot for 120 film, and another for 4x5. When I want to do film borders or sprockets, I lay the negative directly on the glass in the 4x5 opening. I put the film down with the curve of the film facing up to minimize the appearance of Newton rings which result from direct contact with the glass.
In addition to the added borders, I feel I sometimes get a better tonal range in my images as a result of including the black borders in the scan.
Of course, there are a lot of other ways to add interesting borders to images. I saw a long post today on MOOMINSEAN's toy camera blog about how to peel polaroids to get the best edge effect.
http://moominsean.blogspot.com/
Looking back at this post I'm amused that I left out a significant reason for including the film borders in an image. By doing so, one is documenting the use of film as opposed to digital. Of course, that can always be faked with a bit of photoshoppery, and I'd be surprised if there is not already an iphone app for adding faux borders as well.
This is the posting on my blog which gets the most hits from google searches. I would be interested in knowing if people are finding what they are looking for in it.
Mike, the quality of these images has convinced me that my next project has to be to get some 120 film in some of my folding kodaks that I've never shot. Beautiful stuff. And I do like seeing the film borders, especially when you know they're really from film, not photoshop.
Post a Comment