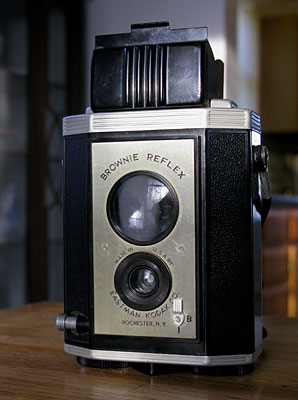
I was given one of these cameras by my family when I was about twelve.
It came in a Kodak yellow, black and red box along with a flash gun, a
soft plastic shield for the reflector, and about a half-dozen big
flashbulbs. I don't specifically recall any photos that I made with the
camera; I'm sure they were quite forgettable as I was definitely not a
photo prodigy. A half century later I've developed a few more skills as
a photographer, and I've come to realize finally at this late date that
the Hawkeye Flash was possibly the finest camera of its type ever
produced.

The camera shared nearly all of its basic features with every other
simple box camera from the preceding fifty years, but the design,
construction, materials and functions represented the ultimate evolution
of the box camera idea. The brilliant waist-level finder was one of
the brightest put in a simple camera, the bakelite case was nearly
indestructible, and the smooth, rounded form along with the gracefully
fluted sides made the camera a pleasure to hold. The most superlative
feature, though, was the extraordinary lens, a simple meniscus design. Somehow – in a way I certainly
don't understand – the single lens which is located behind the camera's
one-speed shutter is able to produce images of astounding sharpness.
 |
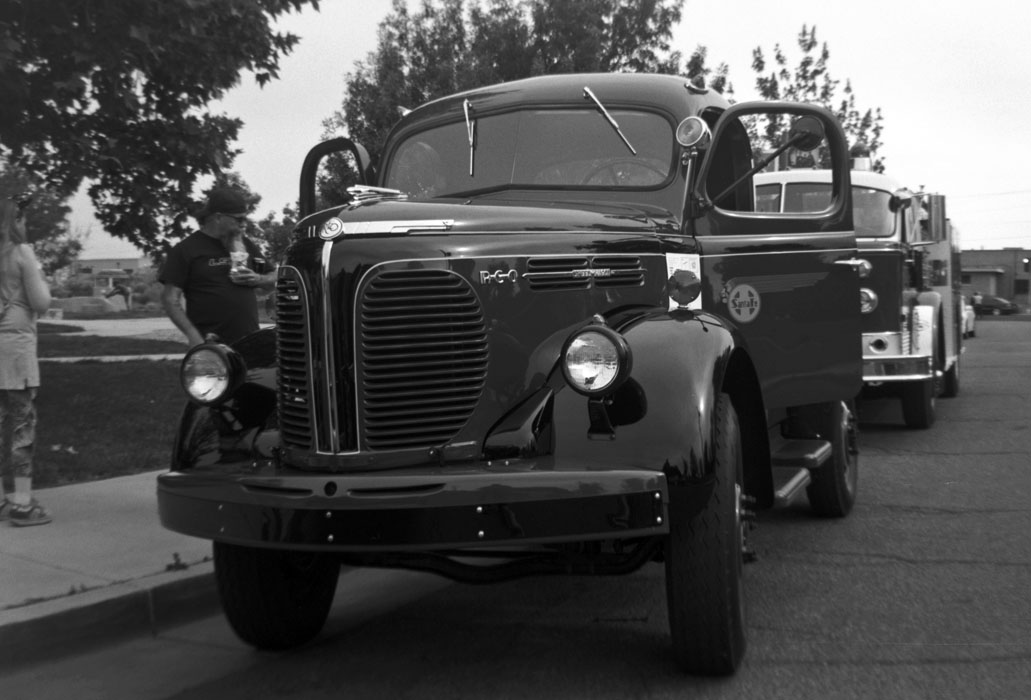
| El Paso |
 |
| Dead Man's Curve |
Kodak offered an unusually ample selection of accessories for the
Hawkeye Flash. In addition to the plug-in flash gun, there were
"Portra" close-up lenses and filters that could be pushed on over the
black lens ring on the camera's front. The filters provided some
control over tonal values that helped to darken skies and bring out
cloud forms, or they could lighten foliage or enhance the complexion of
people in the photos. The filters were also useful for giving a degree
of control over exposure in a camera with no adjustment for aperture or
shutter speed.
The commonest close-up lens, the No. 13, allowed the
photographer to get to within about 3.5 feet of the subject - ideal for
portraits and other close studies. It has also been suggested that
adding the close-up lens provided some correction of aberrations of the
simple meniscus design of the main lens.
 |
| Margaret |
The camera, while advanced in many ways, was not perfect.
While it had a time release function activated by the slide opposite the
shutter, there was no cable release to help avoid camera movement
during a long exposure. There was also no tripod mounting receptacle.
Probably the biggest weakness in the camera, however, was a rather stiff
shutter which tended to jar the camera when released, causing a blurred
image if extraordinary care was not exercised in bracing the camera
against the body or some handy object. Of course, it is not terribly
difficult to rig up some kind of jury-rig tripod mount. A few people with good DIY skills have added cable release and tripod sockets to their Hawkeye Flash cameras. If you are not the handy type, Randy Smith of
Holgamods
can add the cable release and tripod socket to your Hawkeye Flash, as
well as providing a number of other functional and cosmetic enhancements
to the camera.
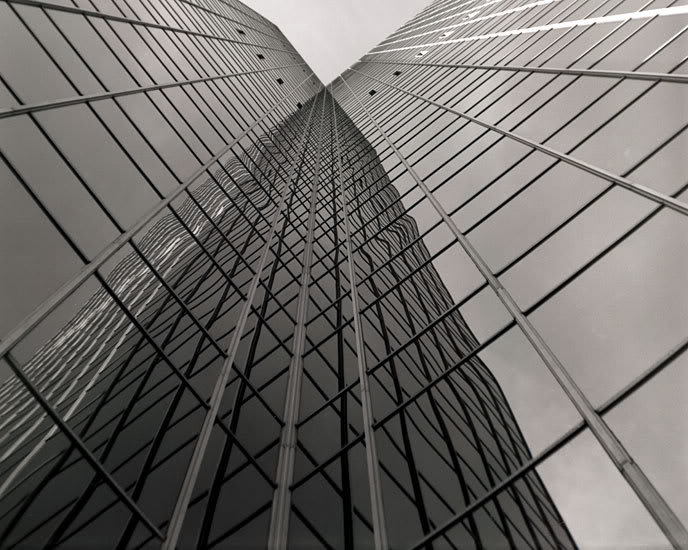
 |
| Chase Bank Building, Phoenix |
Another irritant for Hawkeye Flash users is the fact that the camera was
designed to use now-obsolete 620 film. Some of the Kodak post-war
medium format cameras simply cannot be adapted to using the
still-available 120 film rolls without extraordinary modifications, or
re-rolling of the film onto 620 reels. Fortunately, that is not the
case with the Hawkeye Flash; most you will find in junk shops and on
ebay will contain a 620 spool which can be placed in the take-up
position. Usually, you can just insert a roll of 120 film in the supply
side, thread it into the 620 spool on the take-up, and you are ready to
shoot. Occasionally, some cameras will be a bit tight for a 120 roll
on the supply side, but this is easily remedied with some sharp nail
scissors or clippers to trim down the spool ends flush with the backing
paper.
 |
| Forrester Ave., Albuquerque |
The Hawkeye Flash is such a sturdy camera that you may be able to use if
straight-away, but most are going to require a little cleaning to
restore complete functionality. The only tool required is a
phillips-head screwdriver. There is a possibility that the bakelite
screw holes will be stripped of their threads in the process, but a
little glue on the screws will fix that when it is time to reassemble
the camera.
It is not usually necessary to remove the screws on either side
of the top viewing screen; they are hard to take out and will probably
be hard to put back. Just take out the screws above and below the lens
ring on the front. Then, carefully lift the silver panel and remove the
glass lens protector, the plastic retainer mount, and the front
viewfinder lens for cleaning. You can reach in to clean the underside
of the top viewfinder lens with a cotton swab.
The camera's lens and the shutter are accessed from inside the
camera back. Remove the two phillips-head screws, take out the film
holding frame and remove the lens and spring washer for cleaning. It
might be a good idea to swab a little lighter fluid on the shutter
mechanism at the same time. Be sure to replace the lens and washer in
the proper order and orientation, and take care to properly seat the
film holding frame. That's about it. Your camera is good for another
fifty years, and maybe a couple more owners.
Some Hawkeye Flash Links: